
|
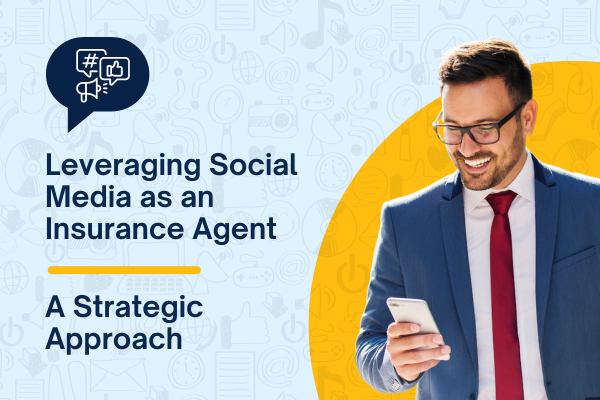
In today's digital world, social media is a powerful tool that insurance agents can utilize to build relationships, enhance visibility, and ultimately grow their business. With billions of users across platforms like Facebook, Instagram, LinkedIn, and Twitter, social media provides a unique opportunity for agents to connect with a diverse audience. Here’s how insurance agents can effectively leverage social media to reach potential clients and establish a strong online presence. Identify Your Target AudienceBefore diving into content creation, it’s crucial for insurance agents to define their target audience. Are you focusing on young families, seniors, small business owners, or another group entirely? Understanding who your audience is will guide the type of content you create, the social media platforms you prioritize, and the messaging you use. Create Valuable ContentContent is the cornerstone of any successful social media strategy. For insurance agents, this means producing content that is both informative and engaging. Examples include:
Creating a variety of content types, such as videos, images, infographics, and blogs, can keep your audience engaged and interested in what you have to say. Engage Regularly and AuthenticallyEngagement is key to social media success. Regularly interacting with your followers through comments, messages, and posts creates a sense of community and trust. Responding promptly to inquiries and participating in conversations related to your field shows that you are attentive and committed to providing value. Utilize Targeted AdvertisingSocial media platforms offer advanced targeting options that can help you reach the right people with your message. For insurance agents, targeted ads can be a cost-effective way to reach potential clients based on demographics, interests, and behaviors. This ensures that your advertising budget is being spent efficiently, reaching those most likely to be interested in your services. Monitor and AdaptTracking the performance of your social media activities is essential. Use analytics tools provided by social media platforms to monitor what types of content are performing best, who is engaging with your content, and the overall growth of your online community. This data is invaluable for refining your strategy and making informed decisions about future content. Stay Informed About Industry ChangesInsurance is a rapidly changing industry, and staying informed about new policies, products, and trends is crucial. Share this knowledge on your social media platforms to establish yourself as a thought leader in your field. This not only helps educate your audience but also boosts your credibility. Leverage Professional NetworksPlatforms like LinkedIn are invaluable for connecting with other professionals and joining industry-related groups. Share your insights, join discussions, and network with peers. These connections can lead to referrals and partnerships that expand your business reach.
|
|||||
|
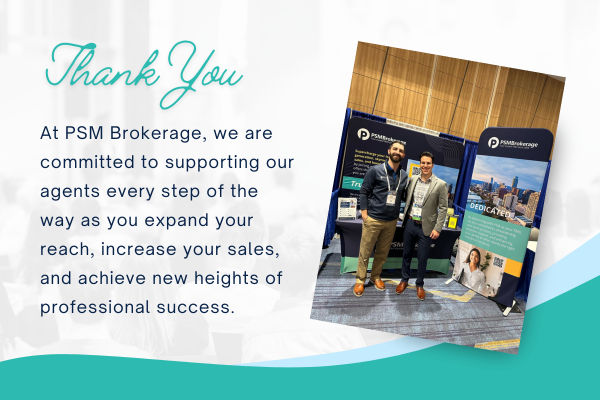
On behalf of PSM Brokerage, we extend our heartfelt thanks to each of you who participated in this year's NABIP-TX Annual Conference for insurance agents. Your presence and engagement made the event a resounding success! We hope you found the sessions enlightening and beneficial, especially the insights on how to build an effective team, and the valuable discussions on understanding loss ratios, company data, and managing carrier books of business. The focus on Senior Dental Plans and the artful strategies behind Cross Selling provided tools that will help you secure and expand your client base.
Additionally, we hope the in-depth sessions on leveraging social media effectively with JoAnna Barker and understanding the evolving landscape of 2025 Marketing Rules and CMS Regulations with Danielle Kunkle Roberts have equipped you with the necessary skills to optimize your marketing efforts and stay compliant in your practices.
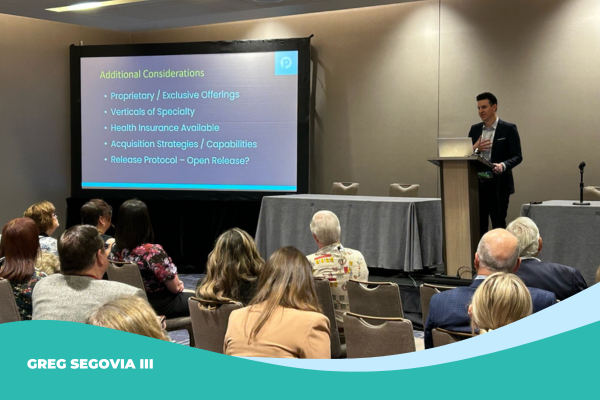
The insights provided by Greg Segovia III on the Ins and Outs of an FMO relationship and Sydney Schoellman’s guidance on navigating the escalation path with your carriers are crucial tools for enhancing your business operations and improving your professional interactions. These sessions were designed to give you a comprehensive toolkit for tackling the complex challenges of today’s insurance market, ensuring that you are well-prepared to meet and exceed your professional goals. Your enthusiasm and active participation are what drive PSM to sponsor these unique and proprietary learning experiences. We are thrilled to support your journey as you implement some of these strategies to grow and scale your businesses. Thank you once again for your participation and for making the conference a memorable gathering. We look forward to seeing you next year with even more engaging content and networking opportunities to help you succeed in the dynamic world of insurance.
|
|||||
 Reach new heights by
 Tags: Hospital Indemnity, Medicare Advantage, Insurance Marketing, Facebook, Goal Setting, DSNP, Enrollment Tools, Guide, Resources, NABIP
|
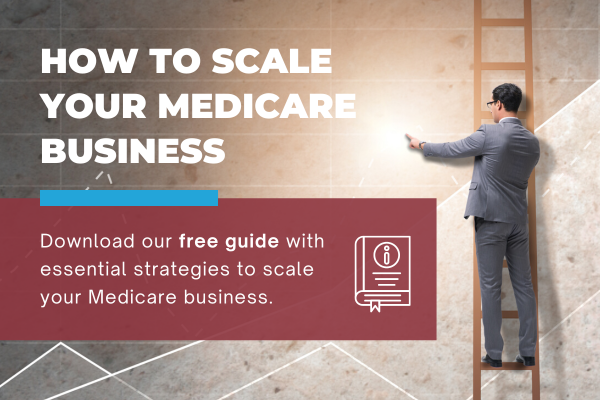
Utilizing our insurance agent resource guides can significantly benefit your business by equipping you with the tools and knowledge to thrive in a competitive landscape. These comprehensive guides are designed to help you grow your client base, attract more referrals, and seamlessly expand into new markets.
With these resources at your disposal, you're well-prepared to elevate your business and secure a prominent position in the insurance industry.
|
|||||
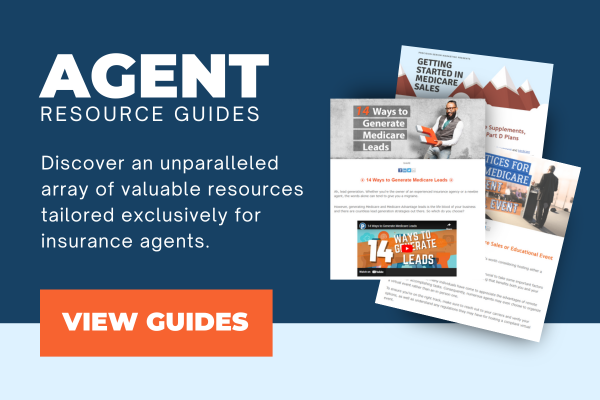
 By leveraging up-to-date industry insights, marketing strategies, and detailed market analyses, you can enhance your service offerings and tailor your approach to meet the specific needs of various customer segments. Additionally, our guides offer practical tips on networking and building stronger relationships, ensuring that you not only reach potential clients more effectively but also create lasting connections that foster loyalty and word-of-mouth referrals.
 Tags: Final Expense, Hospital Indemnity, Medicare Advantage, Insurance Marketing, Facebook, Goal Setting, DSNP, Enrollment Tools, Guide, Resources
|
By Fortune – April 22, 2024 It may be months before the calendar flips to 2025, but not for Medicare. The Centers for Medicare & Medicaid Services (CMS), which runs the program, just announced two major changes for 2025 you’ll want to know about. Next year, Medicare will also dramatically alter the maximum amount beneficiaries will need to pay out-of-pocket for their covered medications. Read the article.
|
||||

Tags: Medicare Advantage, CMS
|
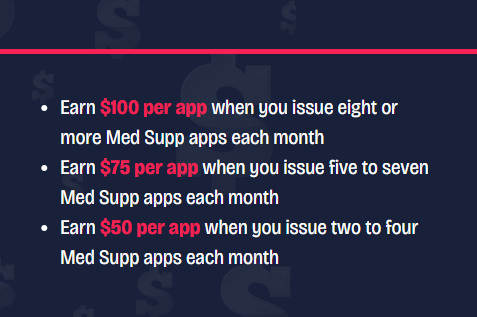
Put on your shades and brace yourself for a dazzling Medicare supplement sales opportunity that's so stunning it'll get your full attention. Your time to shine starts soon. With each Med Supp sale you make from May 1 through July 31, you're not just brightening your sales outlook — you're one step closer to winning one of these sparkling cash rewards:
|
|||||

|
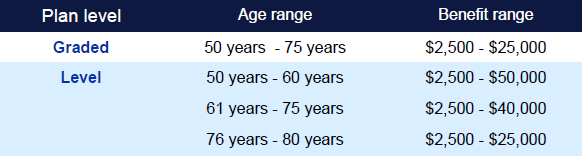
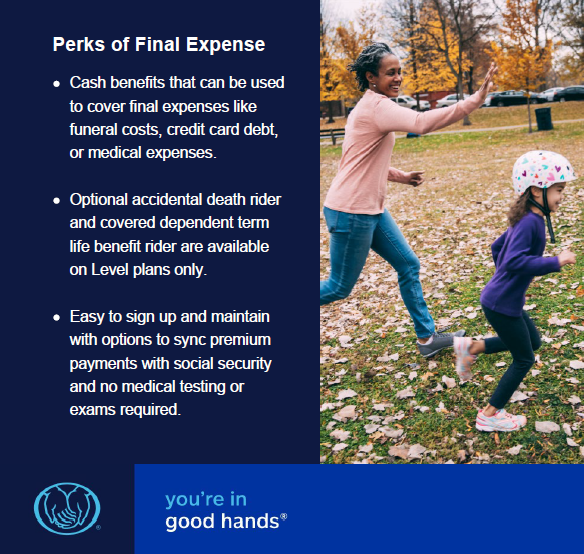
This new plan helps your customers take control of their end-of-life expenses. The total cash benefit is paid to their beneficiary, and they can use it any way they see fit. Final Expense offers two plan levels: Graded1 and Level. Plans offer customers the ability to choose their own benefit level in $1,000 increments.
Please note:
|
|||
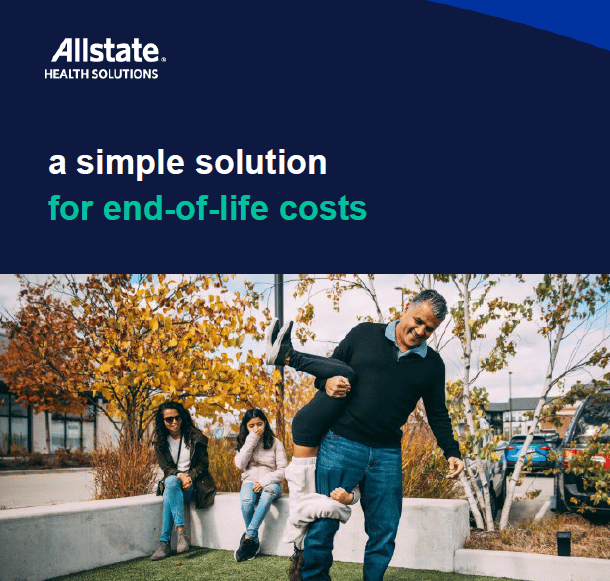


Tags: Final Expense, Allstate
|
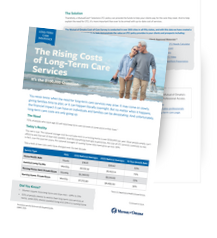
The Cost-of-Care Study Results Are In
They've updated their cost-of-care tools to reflect the changes in price and to help producers guide the conversation about how clients intend to pay for their long-term care.
|
|||||
%20(31)-2.png?width=600&height=400&name=Blog%20Header%20625x400%20(600%20x%20400%20px)%20(31)-2.png)
Tags: long term care, mutual of omaha
|
Retirement Plus Multiplier® (RPM) Annuity Highlights:
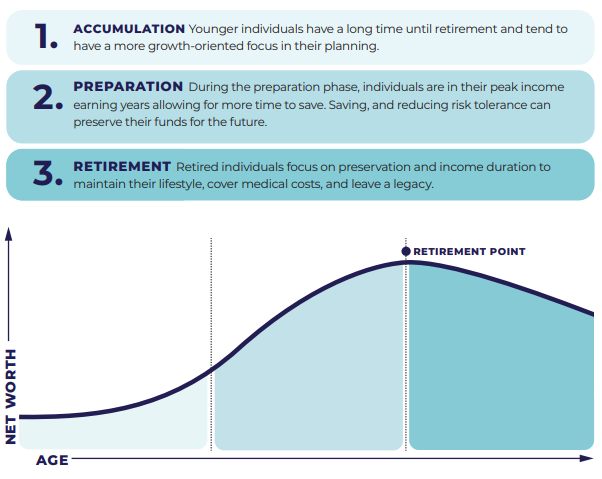
*All product recommendations must be prioritized in the consumer’s best interest. What Phase is Your Client In:
Whether your client is currently accumulating their wealth, preparing for retirement, or in retirement, RPM may be a helpful addition to their retirement strategy. Prepare Protect Enjoy
|
|||||
|
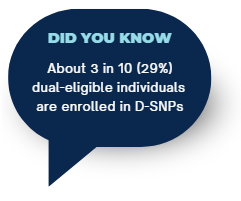
Download our helpful guide to deepen your understanding of selling Dual Special Needs Plans to seniors. This essential resource is tailored to help agents like you navigate the complexities of these plans, highlighting key strategies for effectively reaching and serving the senior demographic. Whether you're new to this segment of Medicare or looking to refine your approach, our guide provides valuable insights and practical tips to enhance your sales techniques and improve client engagement. The Breakdown:
|
|||||
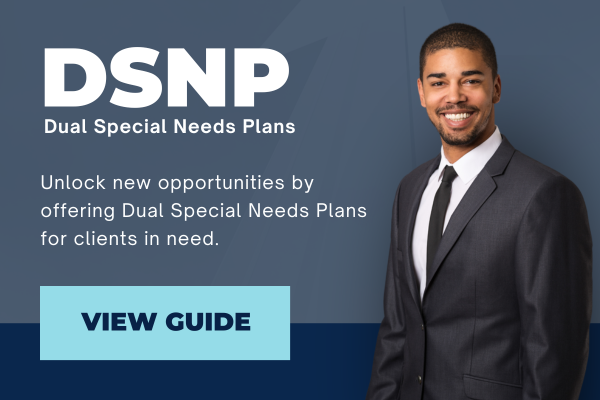
 What is a Dual Eligible Special Needs Plan?
Tags: Medicare Advantage, DSNP, Guide
|
With PSM Brokerage's expert advice and support, agents are well-equipped to take their operations to the next level.
|
|||||

Tags: Medicare Advantage, Medicare Supplement, Insurance Marketing, Digital Marketing, Agency Building